
Last Updated on February 16, 2026 by SoraHoshina
Featured Content:
Spiral Abyss is updated every 16th and for January 2026, new enemies are added to the end-game as we arrive to the new area, Nod-Krai. By entering the abyss, you will challenge your team build against various enemies and mechanism, striving to get full 12 stars.
However, not everyone will have an easy time to collect the stars as newer players may have difficulty in understanding the mechanism of some enemies, or their builds are not perfect yet. This guide will help players to understand the enemies in floor 11 and 12, while recommending some teams that you can try.
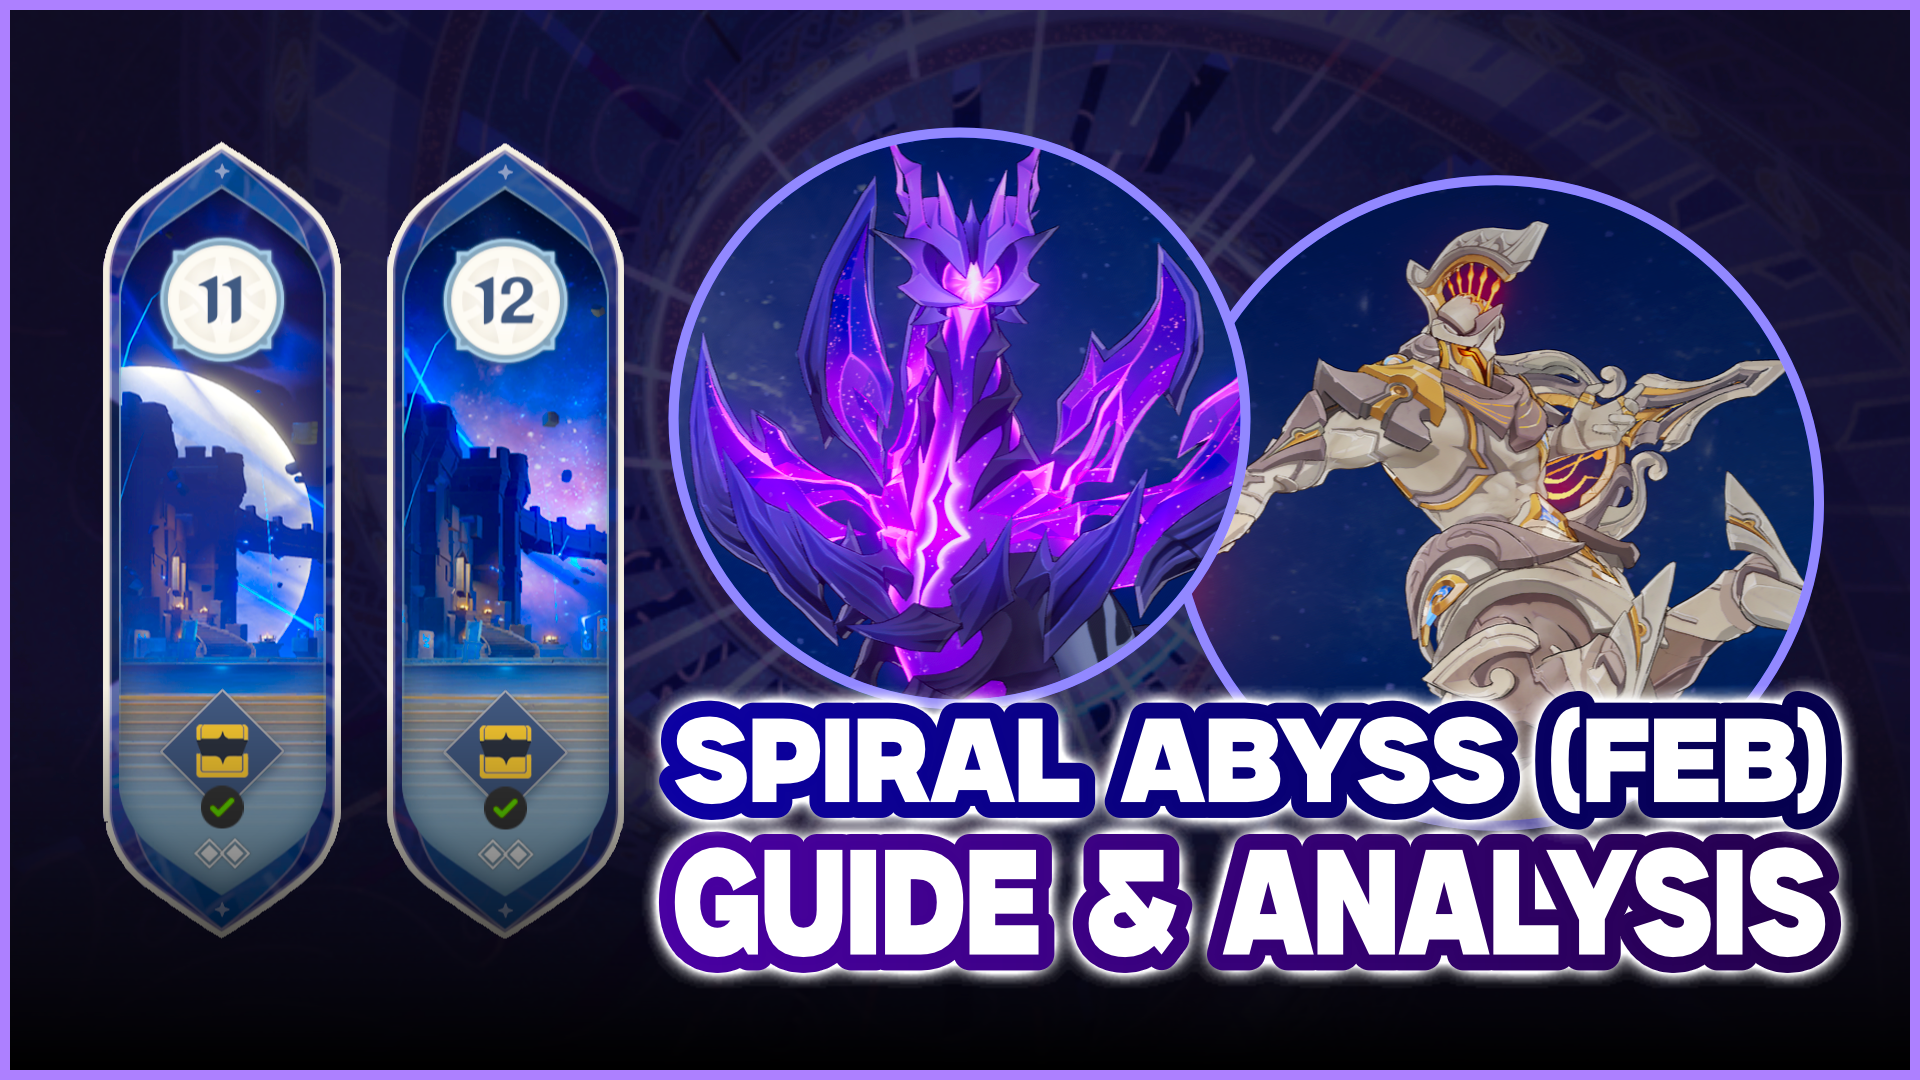
Genshin Impact Spiral Abyss Luna IV Floor 11
Ley Line Disorder

- All party members gain a 60% Hydro DMG Bonus.
- All party members gain 60% Geo DMG Bonus.
Team Recommendations
Team Recommendations for the First Half


✔️ There is a Monolith Defense stage here, so having an Anemo CC would be beneficial for you, as it will also helps you in chamber 2.
✔️ Healer is also good for this half because there are Radiant Wolf in chamber 3, and it will inflict debuff on your characters. It requires a lot of healing to remove that debuff.
❌ Mono-Pyro is strictly forbidden here because there’s only Pyro Slime in the first chamber and they are immune to Pyro.
Team Recommendations for the Second Half


✔️ Although there is a Monolith Defense stage here, the enemies are not too many like in the first half. As long as you bring a character with decent AoE, it’s good enough. Of course, if you want to bring an Anemo CC here, it’s not really a problem.
✔️ Either bring a Geo character or an Overload team as there will be a Golem with Geo shield in chamber 2.
❌ There’s a Phantasm in chamber 3, so don’t bring Mono-Hydro as it is immune to Hydro.
Chamber 1 – First Half


There is only one wave here, and all of them are either Pyro Slimes or Large Pyro Slime. Once you defeat any of them, the next one will spawn in another spot until all 48 Slimes are out. All the Slimes will attack the Monolith, and this is where your Anemo CC comes in- to gather all of them in one spot and trigger aggro.

Make sure to bring at least one Hydro so you will have an easier time killing the Slimes. Since the Slimes will spawn in different spots (but still around the Monolith), make sure you have a bit of distance with the Monolith, while also making sure the Monolith are in your line of sight so you can see if there’s any Slimes approaching it silently.
Chamber 1 – Second Half


Similar to the first half, there is only one wave here, and it’s full of Primordial Bathysmal Vishap Hatchlings. When you start the challenge, three Vishaps will spawn, and once you defeat any of them, the next one will spawn untill all 12 Vishap Hatchings are defeated. All Vishap that were newly spawns will aim for the Monolith.

Once you trigger aggro on them, they will focus their attacks on you. In addition, these Hatchlings will also often chase after you so Anemo CC aren’t really needed because you can gather them easily.
Chamber 2 – First Half


In the first wave, there are 2 Assault Specialist Mek (Pneuma). If you’re using Fontaine character, Ousia-type character is beneficial here as it can trigger an Overload reaction and forcing the Meka to only use the low-end combat actions. These 2 Meka are quite mobile too, so they will often always chase after you so no need to worry about them splitting up and focus on your firepower.

In the second wave, both Eremites spawn next to each other, so your attacks can hit both of them (granted it has a decent range). Right from the start, the two Eremites will enter an enhanced state (increased RES and high Interruption Resistance) and summon their spirit animals.

If your DPS can’t break through their now-increased RES, the best move is to kill the spirit animal first. That way, the enhanced state will end, and he will receive True DMG and will become stunned for 10 seconds. You can then use all sorts of Skills/Bursts during the 10 seconds DPS window. Don’t worry though once they’re recovered, because they can only enter the enhanced state once.
Chamber 2 – Second Half


I believe this enemy has only been in Abyss once (cmiiw) in version 5.1 and has been gone since. I wouldn’t be surprised people already forgot about these little golems. Anyway, there will only be one wave here, and the challenge starts with 2 Praetorian Golems.

Anytime you defeated one golem, the next one will spawn until all 6 Golems are defeated. These enemies have Geo shield right after spawning, so Geo character, Claymore character, or Overload reaction really helps in destroying the shields. After the shields are destroyed, they will be paralyzed for ~10 seconds, so that’s your best DPS window against these Golems.
Chamber 3 – First Half


In the first and only wave, there is only one enemy: Radiant Glacial Wolf. It has a 50% Cryo RES and has the ability to gives your whole team a debuff called Radiant Cocoon. Other than this debuff, this enemy is actually pretty average.

While a character is wrapped in a Radiant Cocoon, their CRIT Rate and Incoming Healing Bonus are both decreased by 10%. Once the character is healed to 100% HP, they will be released from the Cocoon and gain the Disentangled effect, increasing CRIT Rate by 15%. This is the reason a healer is recommended in the team, to restore the health and remove the debuff. But if your team doesn’t care about Crit, then it’s okay.
Chamber 3 – Second Half


Do not bring a Hydro Main DPS to the battle. A Hydro Sub-DPS or Support is fine, but not Main DPS. It will significantly slow you down because the Phantasm is immune to Hydro. But there is only one enemy here so once it spawns, focus all your firepower to this enemy and you should be fine. They will enter Enraged State from the start and will stay that way permanently. In this state, their attacks will be enhanced and become immune to being Frozen.
Genshin Impact Spiral Abyss Luna IV Floor 12
Ley Line Disorder

- First Half – Lunar-Charged DMG is increased by 75%.
- Second Half – Lunar- Crystallize DMG is increased by 75%.
Team Recommendations
Team Recommendations for the First Half


✔️ For the first half, it’s recommended to bring a AoE DPS because there are many enemies in each stage.
✔️ The second one is a Lunar DPS because there are two floors with enemies that has a mechanism that really needs a Lunar-reaction damage. Normal DPS is still fine with them, but may take a longer time completing the stages. Lunar-Charge is the best here because of the AoE and the Ley Line buff.
✔️ Make sure to bring at least one Hydro character because there are enemies with Pyro shield in chamber 2.
⭕ If you don’t bring any Lunar DPS, bring characters that are capable of grouping enemies like Venti or Sucrose to deal with enemies in chamber 1 and 2.
⭕ Additionally, Freeze team is also possible as they can interrupt small enemies from scattering by freezing them.
Team Recommendations for the Second Half


✔️ The second half wants a single-target DPS because there is at most, 2 enemies per wave.
✔️ If you do not bring a Lunar DPS here (which is recommended because of the Frostnight Herra), try to bring a dual DPS-element team (like Varesa Mavuika duo) or multiple elements in the team (like Hyperbloom). This is because if Frostnight Herra did not get hit by Lunar DPS, it will be immune to the damage it takes the most when in the Gloomveiled State.
✔️ Either bring a Geo character, a Blunt attack character, or Overload team because the Golem in chamber 3 will gain a Geo shield right after starting the challenge.
Chamber 1 – First Half


There are 5 waves here, but every wave is the same enemies and numbers, so we’re just gonna assume it’s 1 wave. The battle starts with 3 Fisher of Hidden Depths spawning right next to each other. Once you defeat all 3 of them, the next 3 will spawn in the same location, and this will continue until you defeat all 15 Fishers.


Although they spawn near each other, they would immediately scatter apart, making its hard for you to aim at all of them at once. This is where Lunar DPS or Anemo CC comes in. If you bring Lunar DPS, you can chase after one of them, destroy their Deepdark Shield fast, and once the shield broke, ALL 3 FISHERS’ shields will be destroyed and they will be pulled towards the Fisher whose shield broke first. In addition, they will be stunned for a few seconds.
If you don’t bring Lunar DPS, Anemo CC can help group them all in one spot and your normal DPS can still break the shield, but it will be 3x slower than Lunar reaction.
Chamber 1 – Second Half


There is only one wave here and we’re facing Frostnight Herra. Right off the bat after starting the challenge, it will use its Ultimate attack; go to the center of the arena and generates a Fury bar.
During the charging sequence, it will have high RES to all elements while also launcing wind blades in random directions. You need to interrupt this charging state within 10 seconds or it will enter an enhanced state.

You can fill the Fury bar with any regular attacks, and it will be filled even faster by using a Lunar Reaction. Once the bar is filled, the boss will become stunned for ~5 seconds and will gain a resistance to the element it took the highest total DMG from, becoming immune to it. However, if the majority of DMG taken was Physical or Lunar DMG, it will remain in normal state and will have no immunity to any elements.
Chamber 2 – First Half


In the first wave, there are 2 Sternshield Crabs. They will have a Pyro shield right from the start, so it’s best if you bring along at least one Hydro character so you can easily destroy the shield as fast as possible because the next wave is more dangerous. This wave is honestly more to wasting your time instead of being hard.

For the second wave, you will fight Emperor of Fire and Iron. Right after it spawns and you approach the Emperor, make sure to dash when it starts moving because it will use Ambush (not an official name) and strike the ground in front with its claw. After that, focus on using Hydro attacks (Electro is the second best element) to destroy the Pyro shield on top of its horn.

That Pyro shield grants it a 90% RES increase to all DMG and 140% to Pyro DMG, and enables it to use stronger attacks. When the Pyro shield is destroyed, the Emperor of Fire and Iron will become paralyzed for a period of time. This is your DPS window!
There are many of its attacks that will make it lower its body and you can reach its horn to deal damage, so you can just focus on its position and movement (Although I prefer to spam all my Hydro damage whenever possible).

But one attack that you need to pay attention to is Searing Coronation where the Emperor will move to the center of the arena and half-buries itself to charge a massive explosion. You can see the AoE of the explosion of the ground by the red circle. If its Pyro shield is almost gone, focus on destroying the shield completely to cancel this attack (the horns/Pyro shield are exposed to melee attacks). But if you think you can’t destroy the shield in time, get away from the AoE circle to avoid being caught up in the explosion.
Chamber 2 – Second Half


There is only one wave here and you will face 2 Wilderness Exiles. If you defeat any one of them, the next Wilderness Exile will spawn the same general location until all 4 enemies are defeated.

Once reaching 0 health, these enemies will enter a Grief-Stricken state instead of dying immediately (It can also enter an early Grief-Stricken state without its HP being depleted to 0 after a nearby character uses an ability enhanced by Moonsign: Ascendant Gleam). In this state, these enemies will be able to take further DMG that depletes its Max HP instead of its current HP. Depleted Max HP is indicated by a gray bar that fills from the right. When the Exile’s Max HP reaches 0, it will be defeated. The best strategy here is to bring Nod-Krai characters as their abilities enhanced by Ascendant Gleam will deal direct damage to the gray bar.
Chamber 3 – First Half


There is only one wave with a single boss, the Lord of the Hidden Depths: Whisperer of Nightmares. When you first start the challenge, this boss will immediately teleports and generates a Deepdark Shield, while summoning 4 Fisher of Hidden Depths. There are 2 options for you:
(1) Use a Lunar DPS to break the Deepdark Shield as fast as possible.
(2) Use an Anemo CC to group all the Fishers and defeat them. Killing one Fisher will deplete 25% of the boss’ Deepdark Shield. If you defeat all Fishers, the boss’ shield will be completely destroyed

If the Deepdark Shield is depleted before charging completes, it will deal True Physical DMG to the boss, decreases all of its RES by 70%, paralyzes the boss for 10 seconds, and immediately defeats any Fishers present.
If the Deepdark Shield is not depleted in 30 seconds, it will consume all remaining Fishers and prepares an arena-wide attack.
Chamber 3 – Second Half


The first and only wave has one enemy, Legatus Golem. From the start, it will has a Geo shield which will increase RES against all elements so you want to remove that shield as fast as you can. The shield is weakest against Blunt Attacks (Claymore attacks, Plunging attacks, and most Geo DMG). Overload reactions also work to deplete the shield’s HP.

If the shield is destroyed, the Legatus Golem will become paralyzed for ~12 seconds before regaining its shield. While paralyzed, its RES to all DMG decreases by 70%.

Another method to destroy that shield fast is when the Golem summon a resonator and charges. Destroy that resonator and it will also delete a chunk of the Golem’s shield. If the resonator is not destroyed by the time the Golem stops charging, it will explode to deal damage. Other than this, most of the Golem’s attacks are pretty average so I believe you won’t have much trouble with it except with the ridiculous increased RES when the shield is up.

Sora is a content creator focusing on gacha games in Brand Anime. Aside from playing all the gacha games to a worrying extent, she also streams on her YouTube and Twitch channels (SoraHoshina). If she got bored, then she will write a guide. Yes, write a guide, not anything else that normal people do.

Leave a Reply